
Clear hearing doesn’t have to come with a clinic visit. With the KAUGIC Ear Irrigation Kit, you can safely and effectively clean your ears at home — no stress, no mess, no waiting rooms. Whether you’re experiencing a blocked sensation, muffled sounds, or mild ear discomfort, this guide will walk you through how to use our ear cleaner like a pro.
Why Earwax Matters

Let’s get this straight: earwax isn’t dirty — it’s your body’s built-in defense system. It protects your ear canal by trapping dust, debris, and bacteria, and it even has antimicrobial properties. But when there’s too much buildup? That’s when problems like hearing loss, itchiness, dizziness, or ear pressure can sneak in.
That’s where KAUGIC comes in.
When to Clean Earwax at Home
Wondering if it’s time to break out the KAUGIC Ear Irrigation Kit? Here are some signs:
- A feeling of fullness or blockage in your ears
- Reduced hearing on one or both sides
- Mild ringing in the ears (Tinnitus)
- Itching or discomfort in the ear canal
If you experience severe pain, fluid discharge, or a fever, hit pause — and call your healthcare provider instead. Some things are best left to the pros.
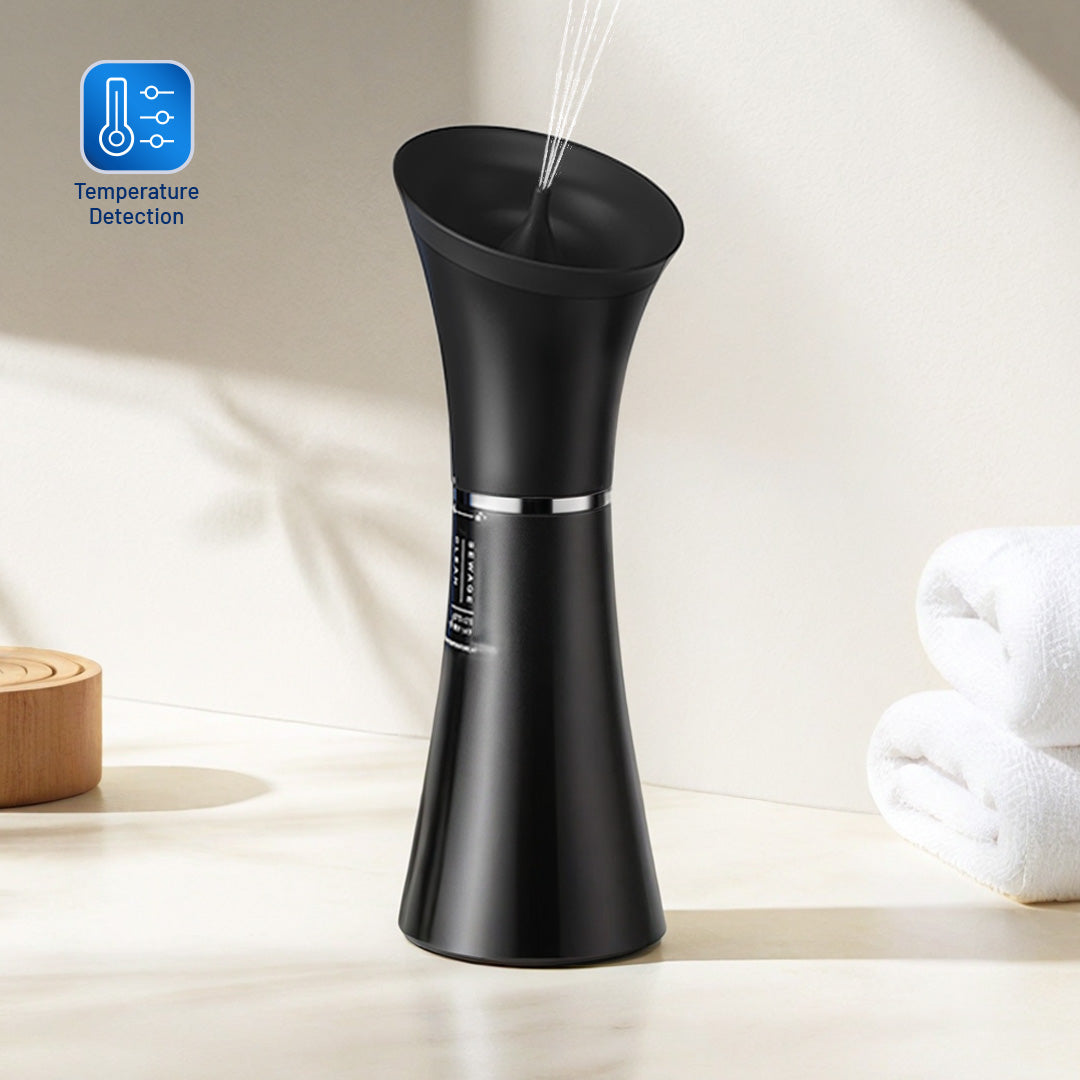
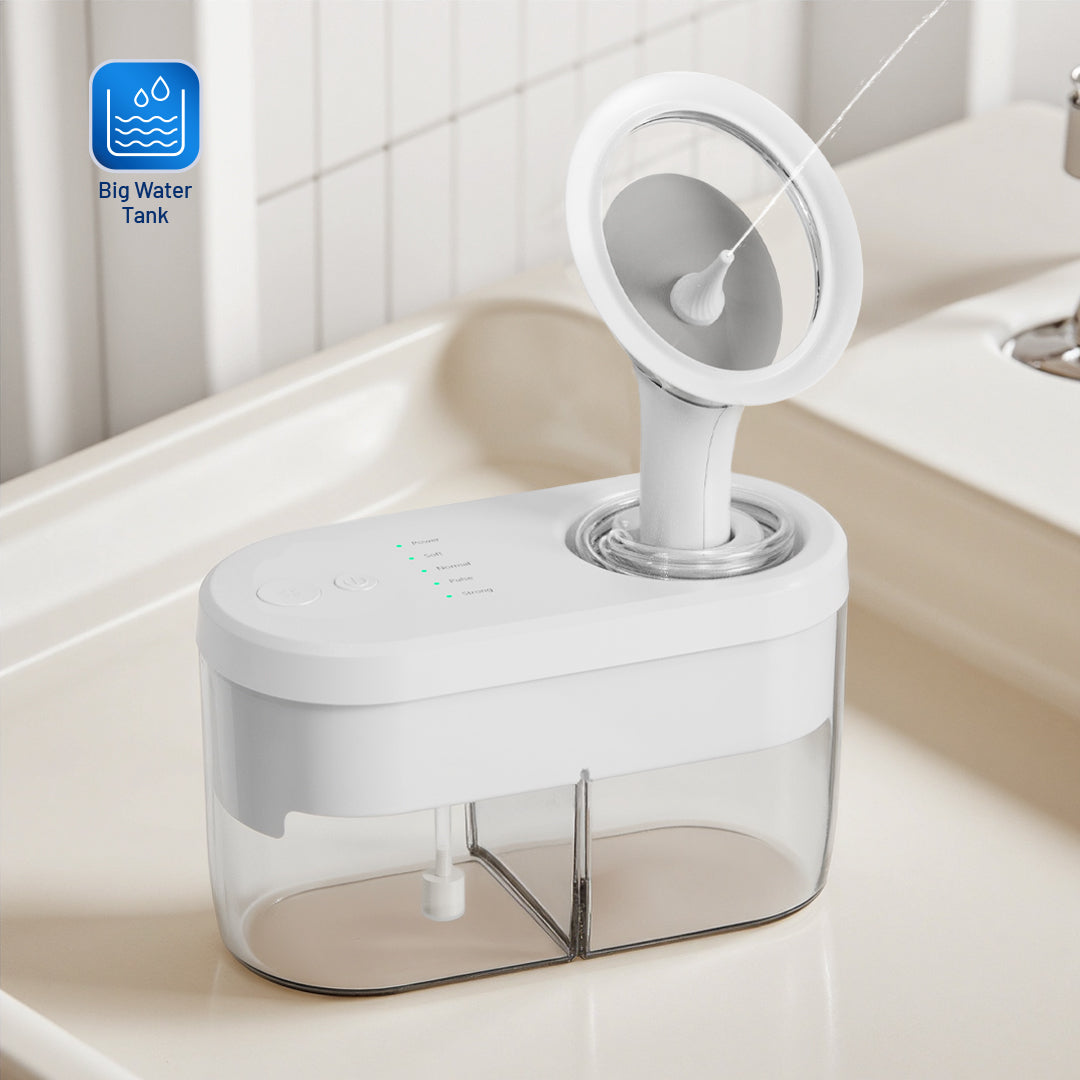
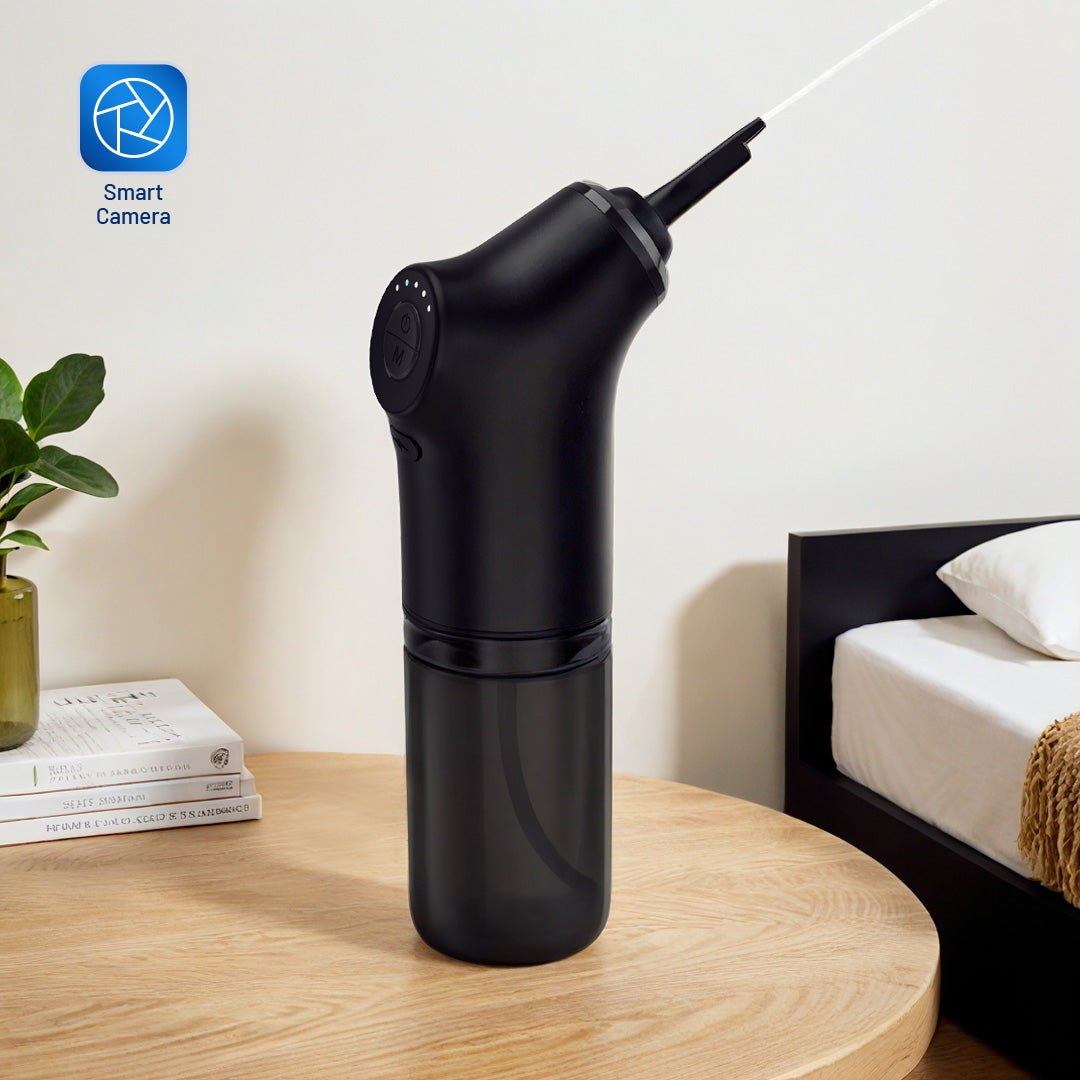
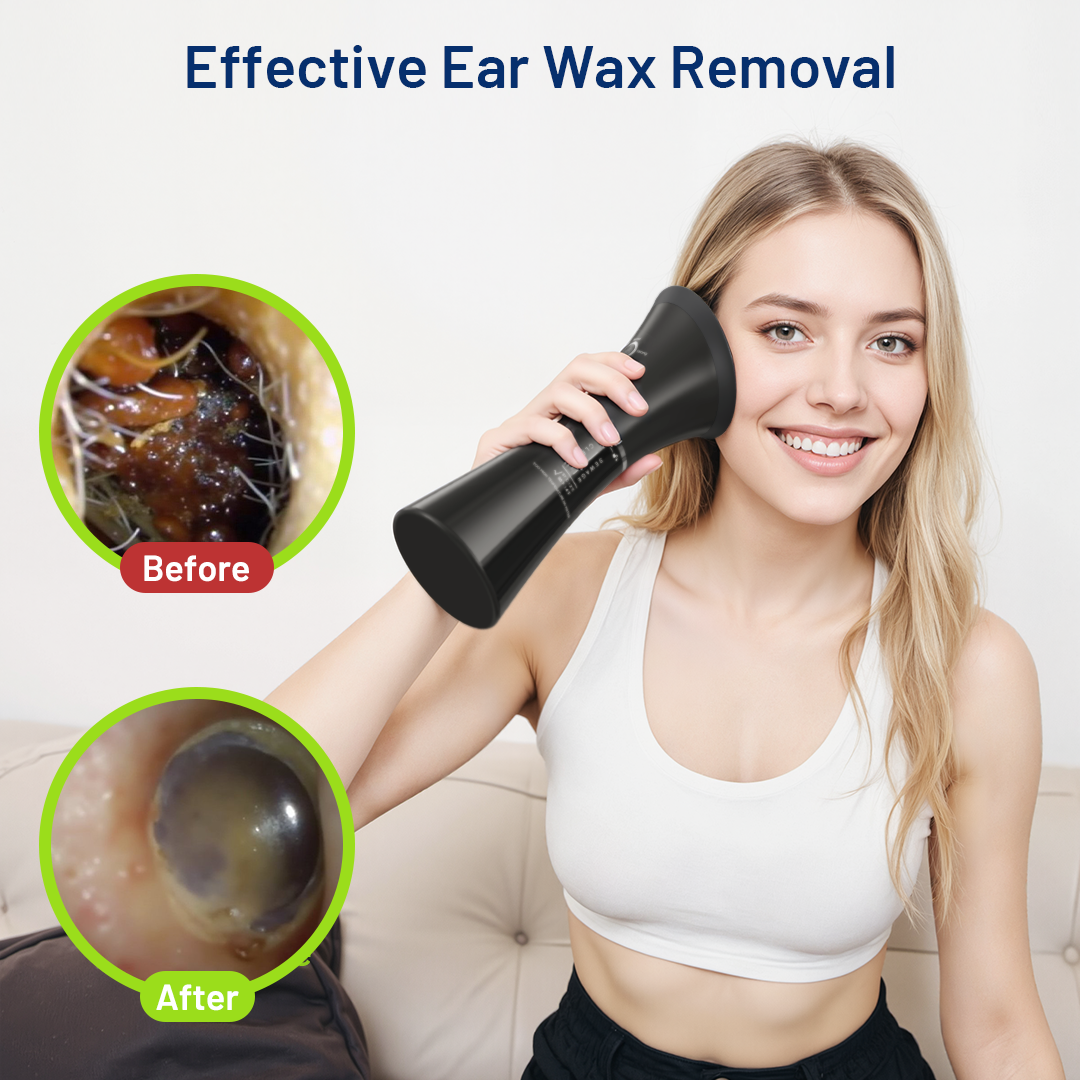
How the KAUGIC Smart Water Powered Ear Wax Cleaner
Kit Works

Our ear cleaning device uses a controlled stream of warm water to flush out excess earwax gently. It’s easy to use, safe for the ear canal, and designed with comfort and hygiene in mind.
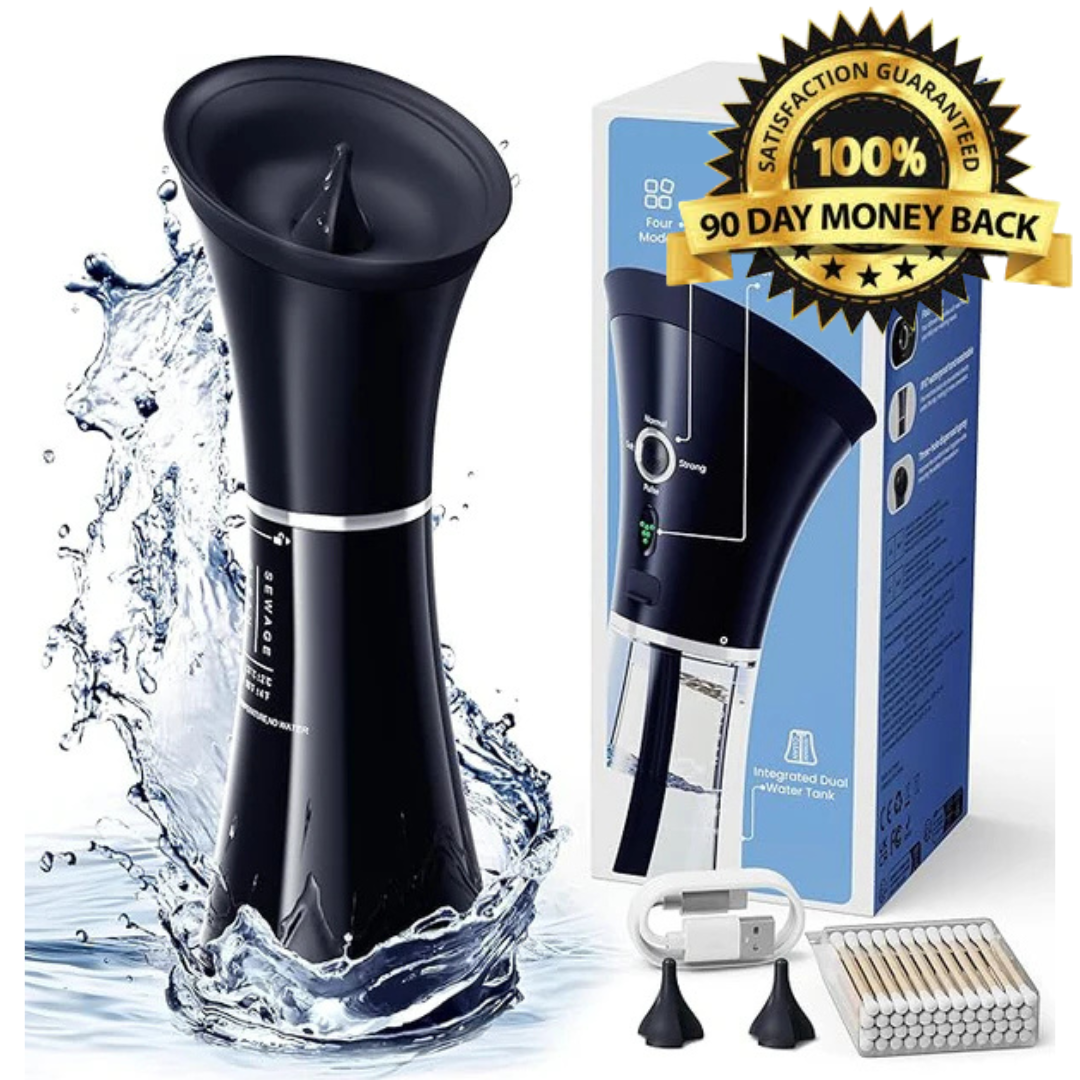
Each KAUGIC kit includes:
- A pressurised ear irrigation bottle with adjustable flow
- Soft, replaceable nozzles
- A catch basin to keep things clean
- Wax-softening drops (depending on the model)
Step-by-Step: How to Clean Earwax at Home with KAUGIC
Step 1: Soften the Earwax (Highly Recommended)
3-5 days before irrigation, apply 1–2 drops of Wax Softener (or olive oil) in the affected ear daily. This helps loosen stubborn wax and makes removal much easier.
Step 2: Prepare the Irrigation Kit
Fill the KAUGIC bottle with warm (not hot!) clean water. Attach a soft-tip nozzle securely. Have the catch basin ready beneath your ear.
Step 3: Flush the Ear
Tilt your head slightly and gently insert the nozzle just at the entrance of your ear canal (don’t push it in). Squeeze the bottle to release a gentle stream of water. Let gravity and water do their thing — wax will flow out into the basin.
Step 4: Dry the Ear
After flushing, tilt your head to allow any leftover water to drain. Gently dry the outer ear with a clean towel. Avoid inserting anything into the canal.
Step 5: Repeat if Needed
Still feeling blocked? You can repeat the process after a few hours or the next day. Be patient — impacted wax may take more than one session.
Important Safety Tips

- Never use cotton swabs, bobby pins, or sharp objects inside your ear canal — you’ll just push the wax further in or damage your eardrum.
- Don’t use ear irrigation if you have a perforated eardrum, ear infection, or have had recent ear surgery.
- Always test the water temperature before use. Lukewarm is your friend.
- Clean the device thoroughly after each use.
What If Earwax Keeps Coming Back?

Some people just make more wax — genetics, skin type, and even frequent earbud use can be factors. If you find yourself needing frequent cleaning, speak to a healthcare professional for long-term care advice. In the meantime, KAUGIC’s reusable irrigation system is a budget-friendly, clinic-free way to stay on top of it.
Final Thoughts: Listen to Your Ears 👂
Healthy ears = better hearing, better balance, and more peace of mind. With the KAUGIC Ear Irrigation Kit, ear care can be simple, safe, and satisfying — all from the comfort of your bathroom.
If you’re ready to hear the world more clearly, check out our full range of at-home ear care products here.

Leave a comment
This site is protected by hCaptcha and the hCaptcha Privacy Policy and Terms of Service apply.